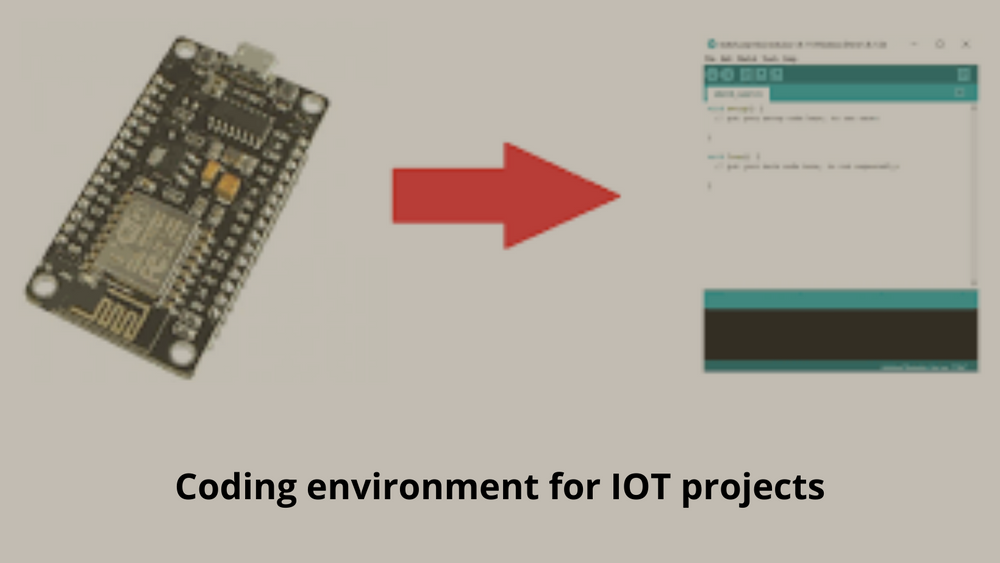
Coding environment for IOT projects
Hello people. This article discusses about creating a Coding environment for IOT projects. Installing ESP8266 Board in Arduino IDE and using the Arduino extension on Visual Studio Code are the most important steps.
The ESP8266 community has got an add-on for the Arduino IDE that allows you to program the ESP8266 using the Arduino IDE and its programming language. Before installing the ESP8266 add-on, make sure you have the latest version of the Arduino IDE installed in your computer. It can be installed from here arduino.cc/en/Main/Software.
To install the ESP8266 board in your Arduino IDE, in your Arduino IDE, go to File> Preferences. Enter http://arduino.esp8266.com/stable/package_esp8266com_index.json into the “Additional Boards Manager URLs” field. Then, click the “OK” button. If you already have the ESP32 boards URL, you can separate the URLs with a comma.
After that open the Boards Manager. Go to Tools > Board > Boards Manager. Search for ESP8266 and press install button for the “ESP8266 by ESP8266 Community“. You are now set and it should be installed after a few seconds.
Now, let us see how you can use the Arduino extension on Visual Studio Code. Here, we will look at development using Microsoft’s Arduino Extension.

Prerequisites
- VS Code needs to be installed on your system.
- VS Code requires that the standard Arduino IDE is installed, as it uses some of the libraries included in the IDE.
Installation of Arduino Extension
To install the Arduino extension enter “Cntrl+Shift+x” to display the Extensions viewer and type “vscode-arduino” into the search bar. This should return the vscode-arduino extension result. Press the “Install” button to install.
After the extension is installed, connect an Arduino Uno development board to a USB port of your computer and then restart VS Code. This makes sure that everything is installed correctly.
Are you looking to start your business in the electric vehicle industry? We provide software development, web application development, mobile application development, charging stations management app, electric vehicle fleet management software development, cyber security and all software services. Please check our home page here https://iwheels.co/

Ok. Let's get back to the article.
Use the Command Palette
Not all VS Code’s functionality is accessible through menus. VS Code has a command-line-type facility for interfacing with extensions called the Command Palette.
To run the Command Palette, type “Ctrl+Shift+p” . It displays a drop-down box that you can enter commands in. Type “Arduino Examples” into the command palette and press return. This will open up a link to the familiar example projects – navigate to “01.Basics” and then double click on “Blink” to open the basic Blink project.
When running Arduino commands like those above you may encounter a firewall message. Select “Allow Access” and continue.
Set up Arduino System settings
We need to change a few system settings before we can start programming. All of these can be accessed via VS Code’s interface.
After opening up an Arduino .ino file, VS Code reconfigures in an Arduino mode, and gives access to special functionality in its bottom blue margin.
Click on <Select Programmer> and select AVR ISP (Arduino AVR Board). Click on <Select Board Type> and select Arduino/Genuino Uno. To set the serial port that VS Code will communicate with your Arduino Uno we need to open up the Command Palette (Ctrl+Shift+p) and then type “Arduino Select Serial Port”. You should then select which USB port your Uno is connected to. You can access the Serial Monitor by clicking on the plug symbol on the blue line.
This extension includes a package manager, which makes external package installation really easy. Open up the command palette and type “Arduino package manager”. A new tab should appear that features many packages to install just by clicking on a button.
Verify your code before uploading
VS Code in Arduino mode has a couple of convenient icons for code verification and uploading to your connected Arduino board. These are available in the upper right-hand corner. Either operation will result in a console window appearing at the bottom of VS Code informing you of the outcome.
Hope this article on Coding environment for IOT projects is useful to you. Please read about Fritzing software for IOT projects